In the sphere of writing, images are a great tool to get your point across and add beauty to the page.
If you’ve been on any popular websites, you must have seen stunning screenshots, images, and illustrations.
In this article, we’ll show you how to create images for your website quickly and easily.
⚡ Check also ➡️ How To Use Midjourney To Create AI Images?
Creating Annotated Screenshots
Screenshots for a blog are what blood is for humans. Weird analogy, but you get the point.
For creating neat screenshots we would recommend using Monosnap. It’s available for Windows, Mac, and Chrome.
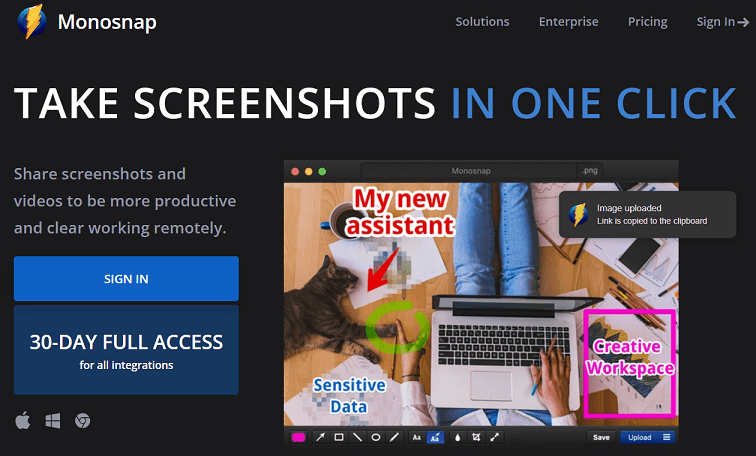
Step 1. Go to Monosnap’s website and click on the Sign In button. From there, click on Create an Account.
Step 2. Download the app for your operating system from the dashboard.
Step 3. Open the app once it’s done installing. On our computer, it shows up at the top. Click on Capture Area to take a screenshot. Drag and capture the desired area.
Step 4. Now, the image will open in the editor. You have lots of tools here at the bottom: arrows, text, squares, crop, resizing, and more.
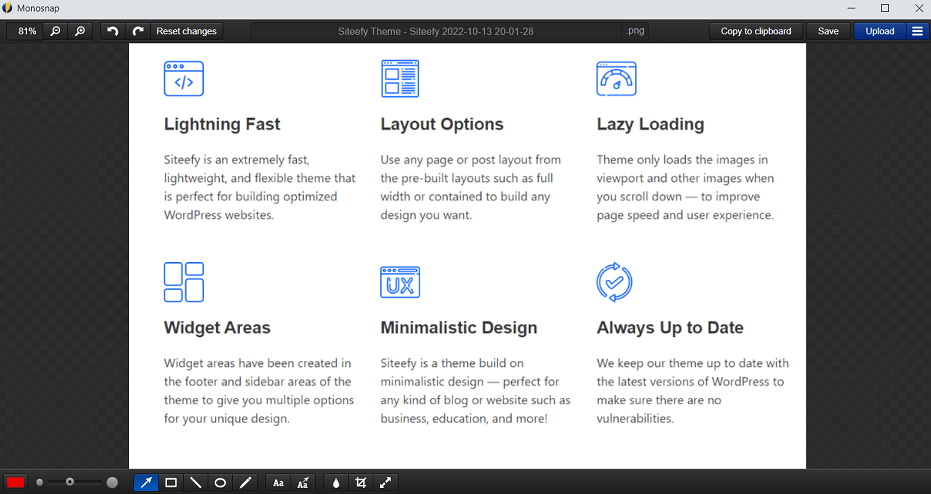
Step 5. Click the Save button once you’re done editing. Alternatively, you can upload it to Monosnap’s cloud storage.
Creating Images With Canva
For creating normal images like blog banners, graphics, and infographics we recommend using Canva. It’s hands-down the best free graphic design tool that exists.
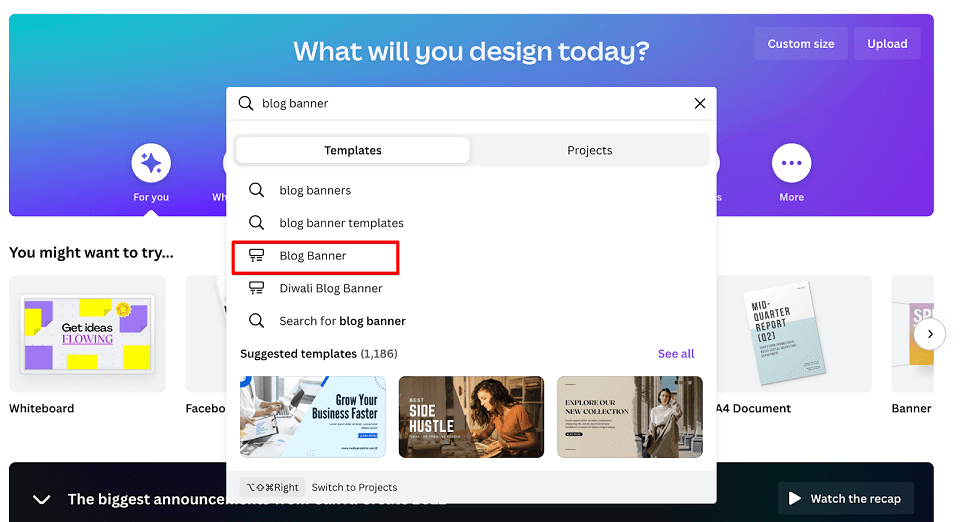
Step 1. Go to Canva’s website and create an account.
Step 2. In the search bar, search for Blog Banner. You’ll see lots of templates you can use, or create your own from scratch.
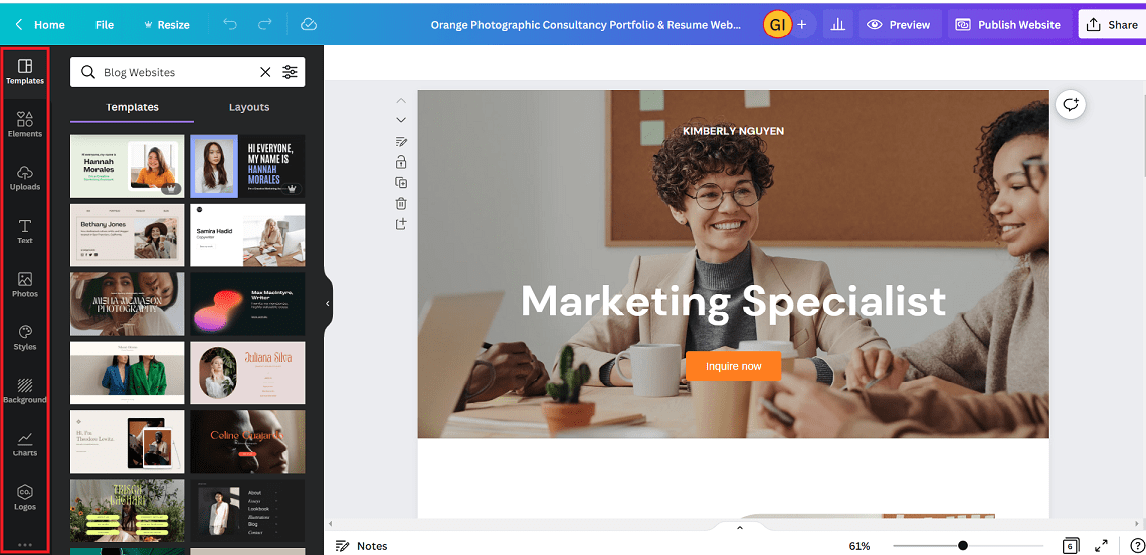
Step 3. In the editor, you will see various options like Templates, Elements, Uploads, Text, Photos, etc. Here’s what each of them does:
- Templates: Pre-made designs for quick designs
- Elements: Animated icons and illustrations
- Uploads: Content that you upload from your computer
- Text: Text
- Photos: A library of stock photos.
Step 4. Once you add some stuff to your design and select a particular element, you can edit its properties.
Step 5. You can download/share your designs by clicking the Share button at the top right.
⚡ Check also ➡️ How To Make AI Art (Alternative Tools)?
Best Image Editing & Creation Tools
Apart from the two tools we used above, here are some more you can check out and see what fits your preference:
1. Adobe Photoshop (Mac/Windows/iPad)
Photoshop is the king of all image editing programs. You can create virtually any graphic with Photoshop.
It has great features, however, it comes with an equally big learning curve. We recommend it if you are into photography and pixel-perfect designs.
2. VistaCreate (Web)
VistaCreate is an online graphic design tool that is almost like Canva, from the UI to the features.
It also has lots of templates, stock assets, shapes, vectors, etc. The free plan comes with lots of features, enough for most blogs.

⚡Check also ➡️ Online Marketing Tools for Small Businesses & Websites (+4 Marketing Platforms)
Benefits of Image Compression
In addition, compress your images before uploading them to your website.
Image compression is the process that reduces the size of your images without the loss of any quality. It has a lot of benefits for your website like:
- It saves valuable space on the hard disk
- This leads to faster page load times on the website, which is crucial for SEO
- Easier to edit in photo editing software due to the smaller size
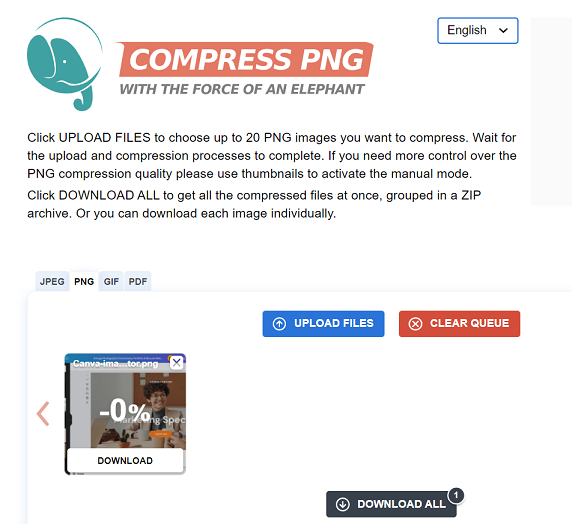
Compress PNG
Compress PNG is one of the best free image compression tools out there. You can reduce the size of your PNG, JPEG, GIF images, and PDF files without losing quality with the click of a button.
Conclusion
There you go. Now you know how to create beautiful images for your website with Monosnap and Canva. We also told you two other photo editing tools in case you want more options to try out.
🤓 Want to learn more about websites?
You can find more helpful tips about websites by looking through the rest of our blog.
FAQ
⬇️Further Reading:
- 25+ Website Statistics That Will Intrigue You
- How Many Websites Are There in the World?
- 46 Website Ideas for Beginners and Pros
- How to Build a Website (Blog) From Scratch: A Step-By-Step Guide
- How To Know Who Visited My Website (a Quick Guide)
- How To Check How Many Pages a Website Has (a Short Guide)
- How To Check When a Website Was Last Updated?
- How to Quickly Export (Scrape) All Website URLs – A Smart Method