Here’s the truth:
The default blue hyperlink color has become old and boring. Plus, it is present on millions of websites, which doesn’t make it unique.
If you want to spice things up a bit and want your website to look different, then changing the color of your links might be a good idea.
This tutorial will show you exactly how to change the link color in WordPress with four different methods.
Let’s get started!
⚠️ Before continuing…
In this article, you will find several methods to adjust the color of the links in a Global way (whole website) and in an individual way (on a single page).
We’ll add indicators (Global and Individual) to the end of each title to make it easy for you to tell if a method is Global or Individual.
Method 1: Using the WordPress Customizer (Global)
We’ll show you how to change the hyperlink color in WordPress with the WordPress customizer in this section. It’s quick, easy, and you can see the changes in real-time.
One thing to remember is that this option isn’t available on all WordPress themes.
If your theme doesn’t come with this feature, you can follow the other methods!
For this example, we’ll be using the Blocksy theme.
With that being said, the steps are as follows:
Step 1: Go to ‘Appearance > Customize’ from the WordPress panel.
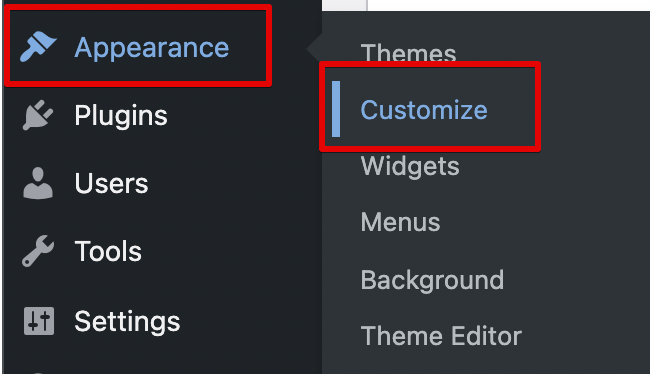
Step 2: Go to the ‘Colors’ tab from here.
Step 3: Under the ‘Global Colors’ section, you can see the ‘Links’ option. Here you can choose two colors, one for the default link color, and another for the hover color.
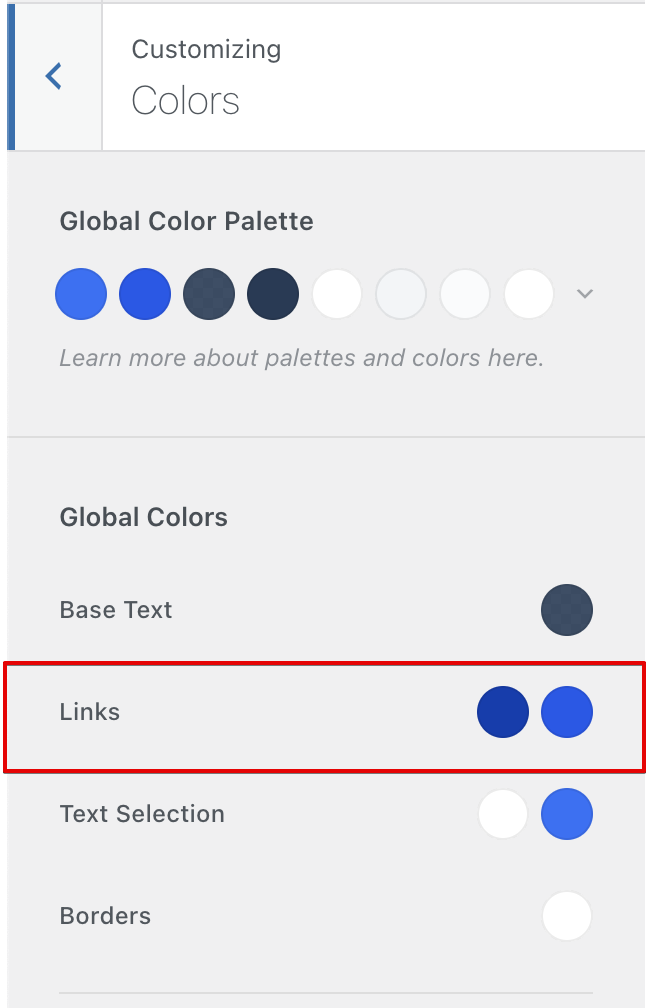
Step 4: Click on the circles and using the color palette that pops up, choose your desired color.
Step 5: Click on the ‘Publish’ button at the top.
Method 2: Using CSS Code (Global)
Now, we’ll show you how to change the link color in WordPress with CSS (Cascading Style Sheets).
CSS is a style sheet language that allows you to change the style and the design of the elements on your website.
It’s extremely powerful and easy to use!
📝 Note: You can apply this method to almost any theme.
Here’s what you need to do:
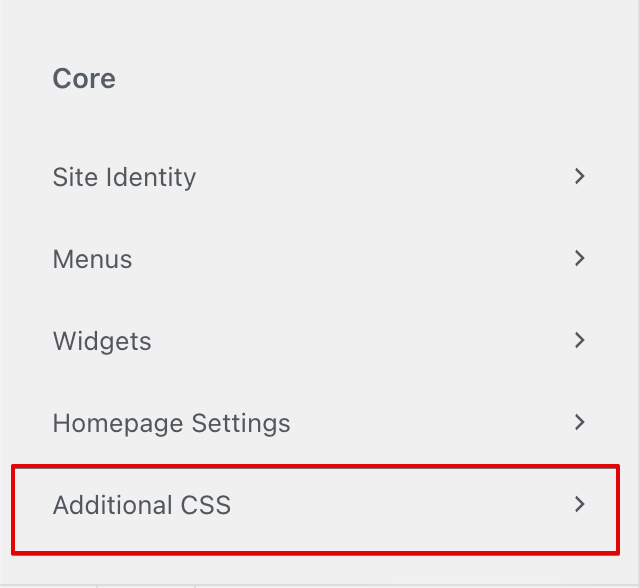
Step 1: Go to ‘Appearance > Customize’ from your WordPress sidebar. From the WordPress customizer, select the option which says ‘Additional CSS’.
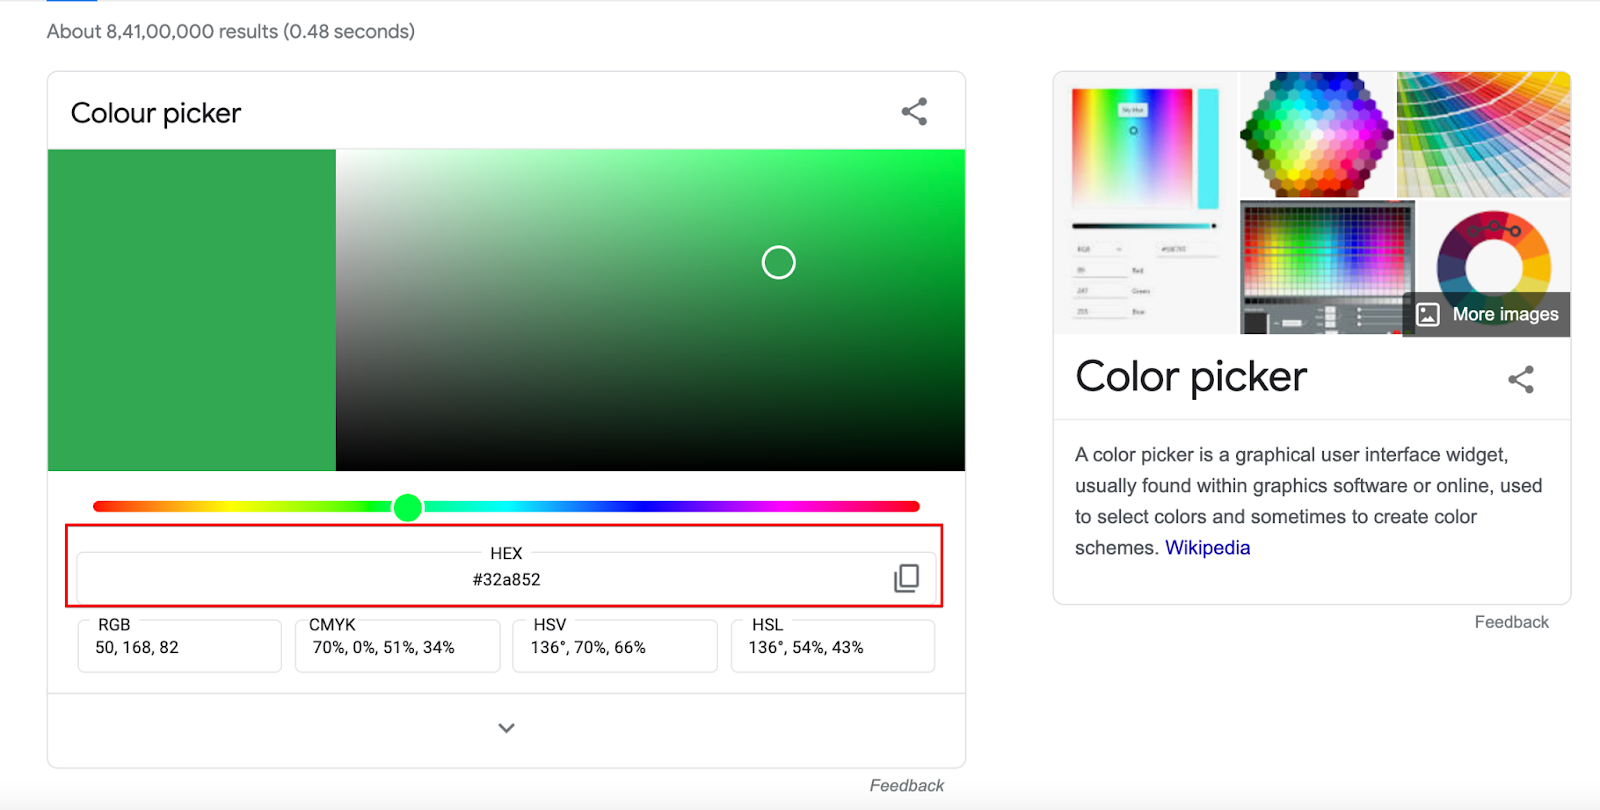
Step 2: Go to this Google URL.
From here choose the color you want to use for your link, and then copy the hex code (it starts with ‘#’)
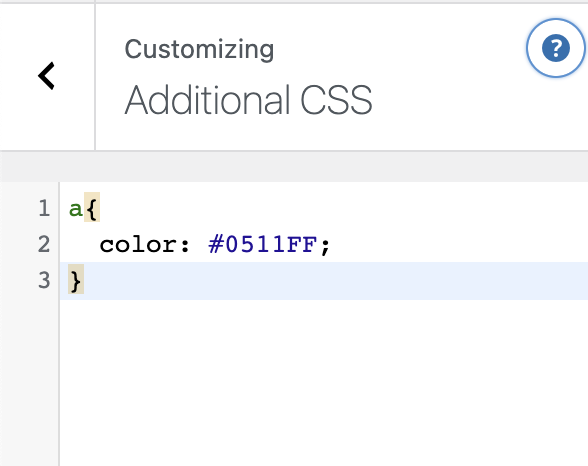
Step 3: Add this code in the Additional CSS tool:
a {
color: paste the hex code here;
}
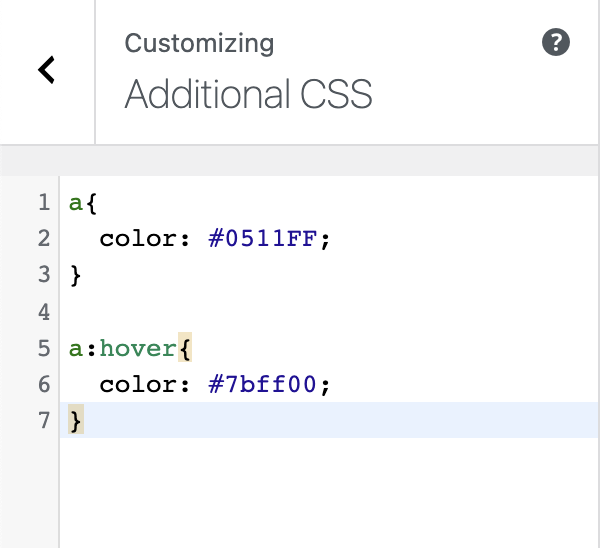
Step 4: Now, if you want to change the hover color, just add this code in the Additional CSS tool plus your desired hex color. (You can add it just below the first piece of code that you have added before.).
a:hover {
color: paste the hex code here;
}
Step 5: Click on the ‘Publish’ button at the top.
Method 3: Using Page Builders (Global/Individual)
If you want to know how to change the default link color in WordPress and your theme doesn’t have the feature or you just don’t want to mess with code, then a page builder is your best choice.
The steps for two popular page builders are given below.
The Elementor Page Builder (Global)
Elementor is an easy-to-use visual page builder that allows you to build and customize every part of your website.
⚡ Check also: How to Edit Footer in WordPress
The steps are:
Step 1: Open a page from your WordPress admin, and click on ‘Edit with Elementor’.
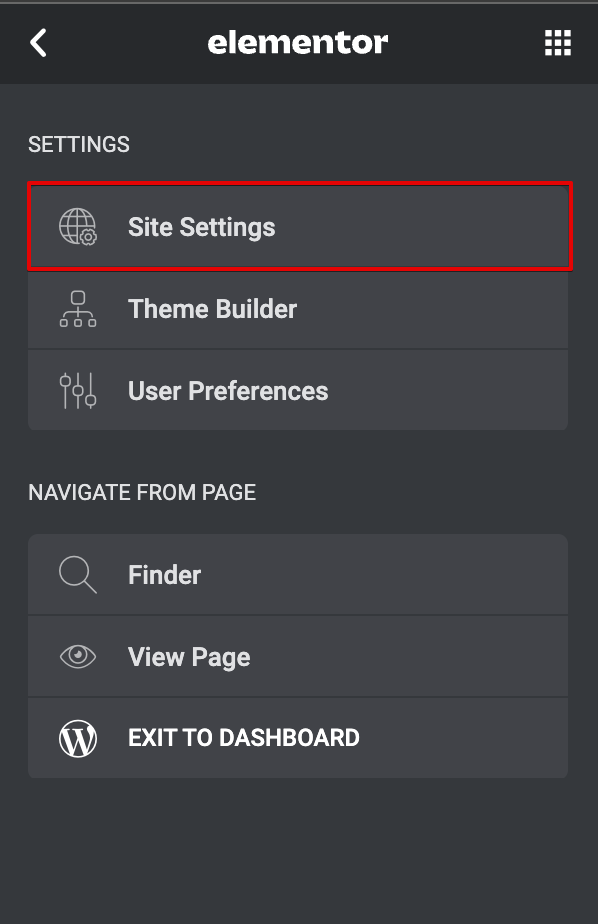
Step 2: Once Elementor opens, click on the three lines at the top left. From there, select the option that says ‘Site Settings’.
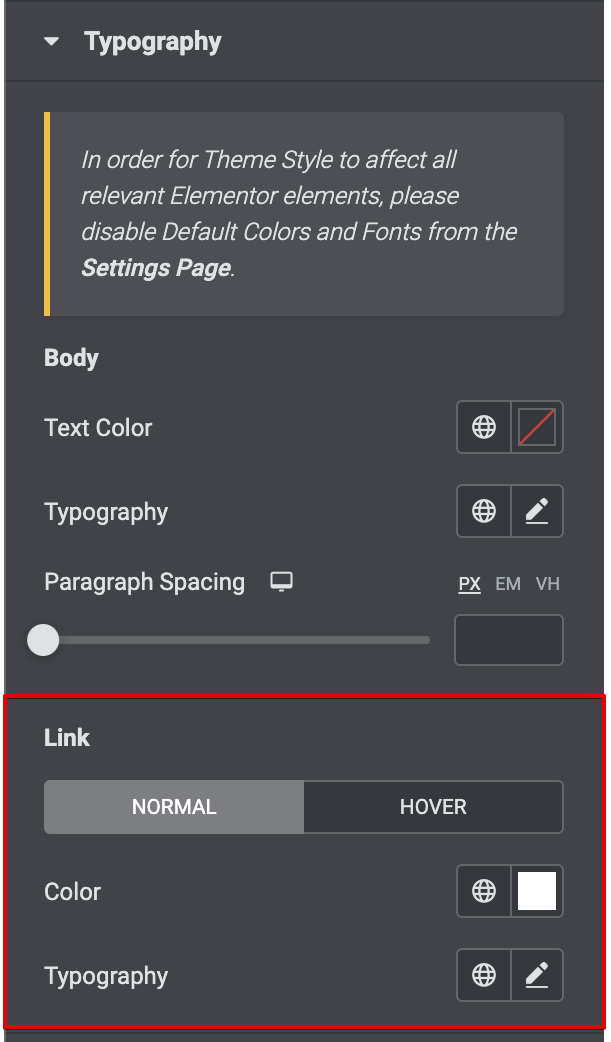
Step 3: Navigate to the ‘Typography’ section from here.

Step 4: Inside the ‘Typography’ section, scroll down to the ‘Link’ heading. From there you can adjust the color.
Step 5: Once you’re done, hit the ‘Update’ button at the bottom.
The Divi Page Builder (Individual)
In this section, you’ll understand how to change the link color in WordPress with Divi.
Divi Builder is a premium, easy, and fast page builder which helps create amazing designs within a few minutes. With Divi Builder, you can adjust the colors of individual links.
⚡ Check also: How to Edit WordPress Home Page
Here’s how you can do that:
Step 1: Create a new page and edit it with the Divi Builder.
Step 2: In the Divi Builder, select the text that you want to add a link to.
Step 3: From the menu that pops up, click on the hyperlink icon. Enter the URL in the bar that pops up.
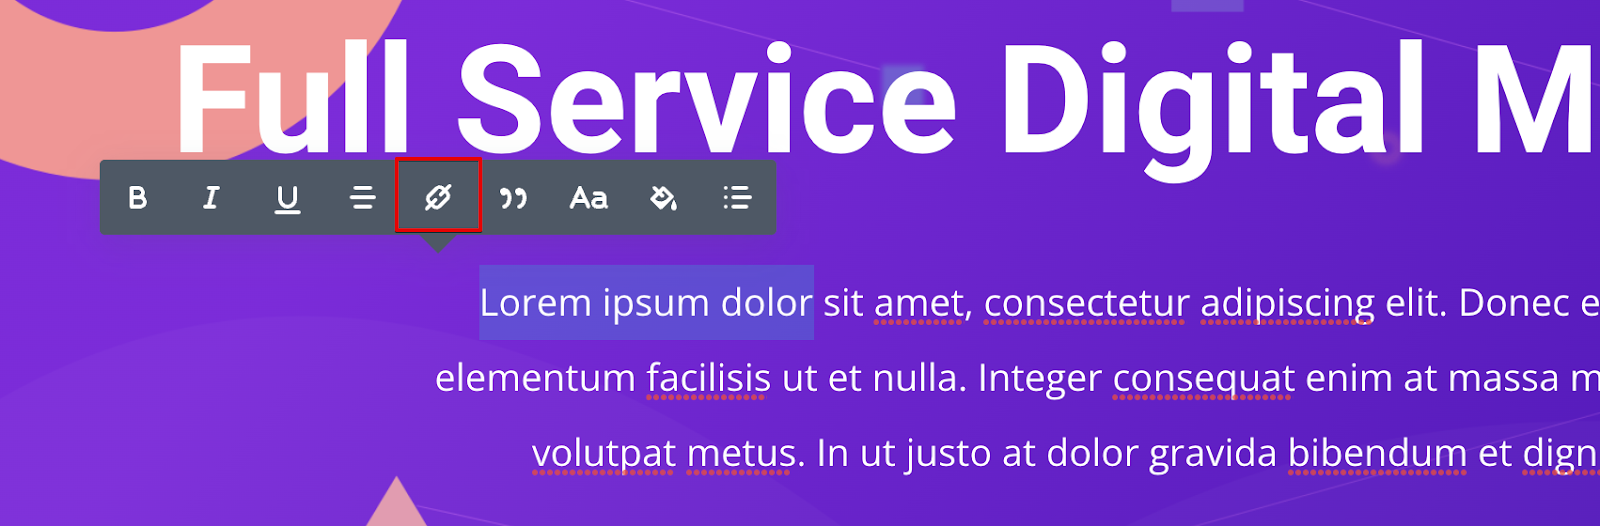
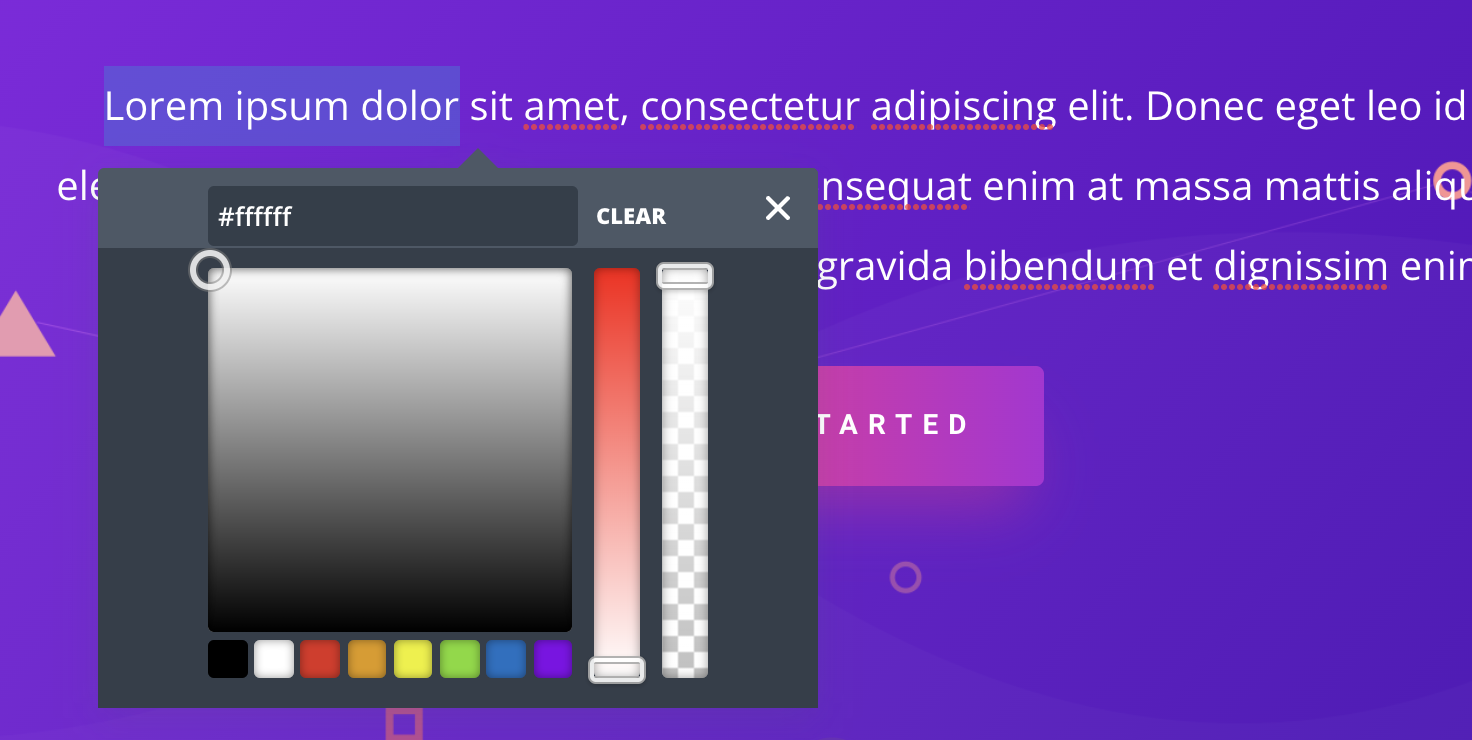
Step 4: Now you’ll see the default blue link color. To change that, click on the paint bucket icon (second from the right).

Step 5: That will open a color palette with which you can adjust the link color.
📝 Note: You can also set a sitewide color for your links with the new Divi’s Global Color System.
Method 4: Using Gutenberg (Individual)
Gutenberg is WordPress’s default editing system that has gained a lot of popularity in the past few years. If you are an avid Gutenberg user, then this section is for you.
The steps are as follows:
Step 1: Open a post/page with Gutenberg and select some text. Add a link to it with the hyperlink icon.
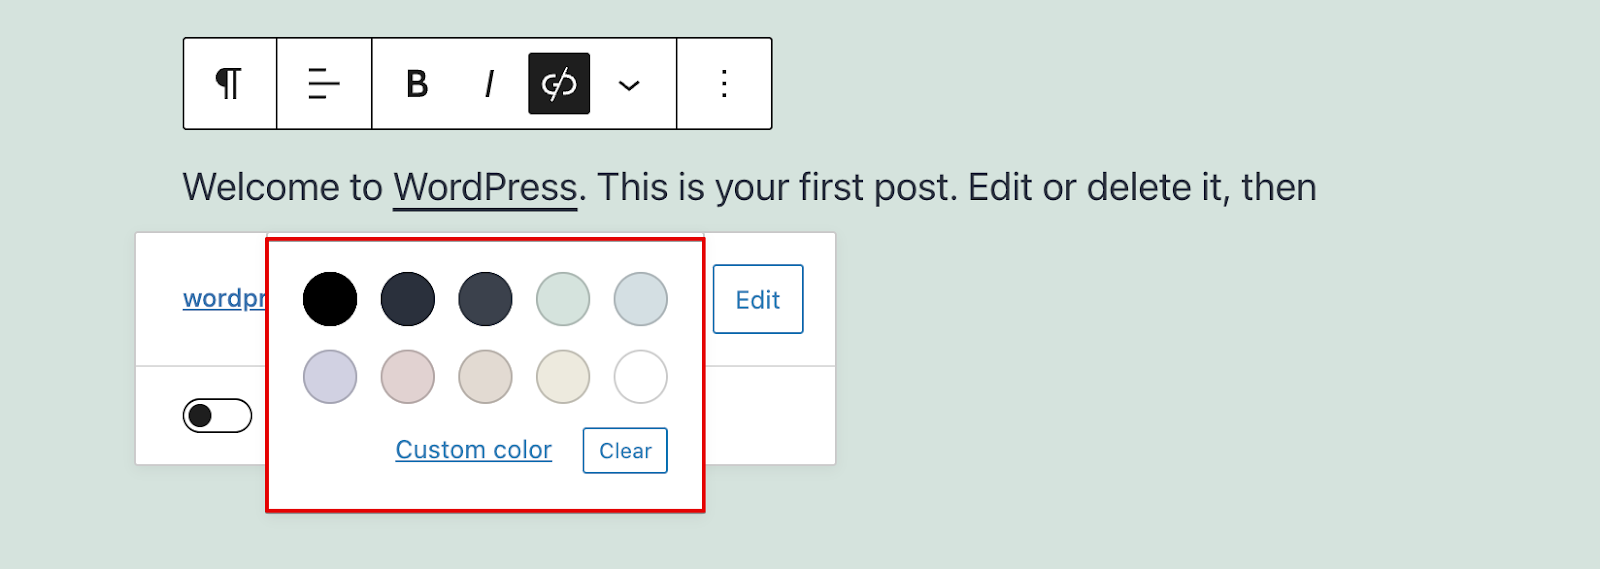
Step 2: With the link text selected, click on the dropdown arrow next to the link icon. From here, select the ‘Text Color’ option.

Step 3: That opens WordPress’s color picker with which you can set a custom color for the selected piece of text.
Step 4: Click on the ‘Update’ button at the top-right.
Conclusion: How to Change the Link Color in WordPress
That sums up our four favorite ways on how to change the link color in WordPress.
We went over changing the color through the WordPress customizer, by adding custom CSS code, by using a page builder like Elementor and Divi, and by using the WordPress Gutenberg editor.
Our recommended method is using the Customizer, but the other three methods are good and reliable too!
That was it for this article and thanks a lot for reading!
How to Change the Link Color in WordPress – FAQ
🔔 Check also: