
⚡Quick Answer
To justify text in WordPress:
- Installing a plugin is the easiest way to go. Please check the list of the plugins you can use in the article below.
Alternatively, you can also try the following methods:
- Classic Editor: Use keyboard shortcuts (Ctrl + Shift + J for Windows, Command + Option + J for Mac).
- Gutenberg Editor: Add custom CSS (
text-align: justify;) for justification. The article below illustrates where to insert it in your theme’s Additional CSS section.
🔵 Tip: Consider using WordPress page builders like Divi for enhanced editing features and easier text formatting.
For detailed steps and instructions please continue reading the article.
It’s easy to justify text in Google Docs or other word processing software; simply highlight the text and click ‘justified’ on the text alignment options.
It used to be that straightforward in WordPress, but the button for justifying text disappeared after WordPress version 4.7.
However, you don’t have to lose hope because in this post we will show you how to justify text in WordPress through 4 easy methods.
How to Justify Text in WordPress Using the Classic Editor
In this section, you will understand how to justify text in WordPress using the classic editor.
🔵 Method 1: Using a Keyboard Shortcut
This method is the easiest and only works with the Classic Editor.
These are the steps to follow:
Step 1: Log in to the WordPress editor.
Step 2: Select all the text you would like to justify.
Step 3: Use this keyboard shortcut:
- Mac: Ctrl + Option + J
- Windows: Ctrl + Shift + J or Alt + Shift + J
That’s it.
Most of the time this method works without any issues. ✅
However, if it doesn’t work out for you in any way, you may use a plugin to justify text in WordPress. In the following sections of this article, you’ll learn how to do so.
🔵 Method 2: Using a Plugin
Plugins are very useful since they add lots of interesting features to your WordPress dashboard.
Here you will find 4 plugins that you can use to add the justify text feature to your WordPress classic editor.
⚠️ Disclaimer
These four plugins play the same role, so you only need to install and activate one. If the active plugin doesn’t work the way you want, first deactivate it before activating the other one.
🔹 Preparation: Install the Classic Editor
For these plugins to work, first install the Classic Editor plugin.
🔹 Step 1: On the dashboard, go to plugins > Add New.
🔹 Step 2: Type ‘Classic Editor’ in the search field. The plugin will appear.
🔹 Step 3: Install and activate it.

🔹 Step 4: Configure the plugin by going to Settings > Writing.
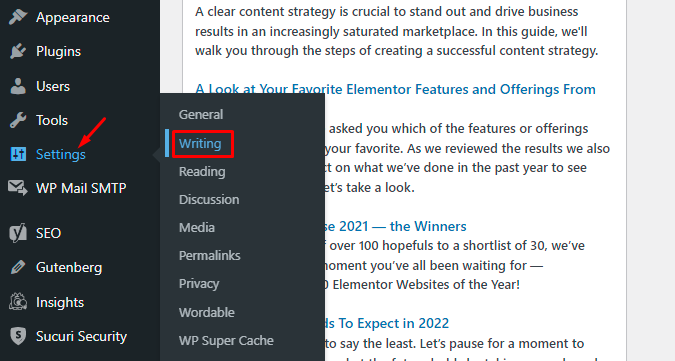
🔹 Step 5: Under ‘default editor for all users,’ select ‘Classic Editor‘.
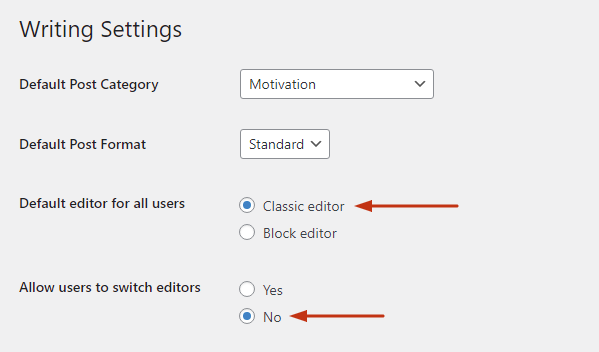
🔹 Step 6 (Optional): Select ‘No’ under ‘Allow users to switch editors’.
🔹 Step 7: Scroll downwards and click ‘Save‘.
⚡ Check also: How to Edit WordPress Site?
Plugin #1. Re-add Text Justify Button
🔹 Step 1: On the dashboard, go to plugins > Add New.
🔹 Step 2: Type “Re-add Text Justify Button” in the search box located to the screen’s top right.
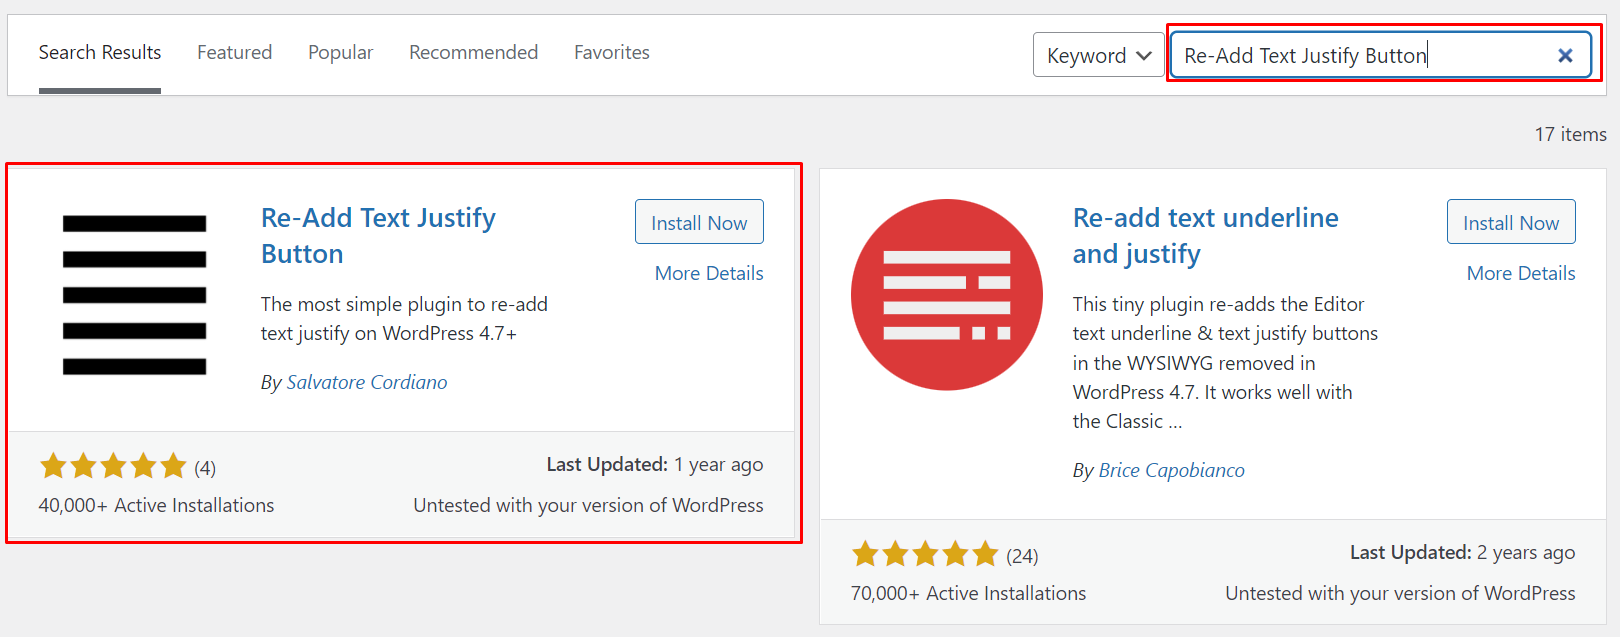
🔹 Step 3: Click Install followed by Activate.
🔹 Step 4: In the dashboard, go to Posts > All Posts or Pages > All Pages.
🔹 Step 5: Select a post or page that you’d like to justify and click “Edit”.
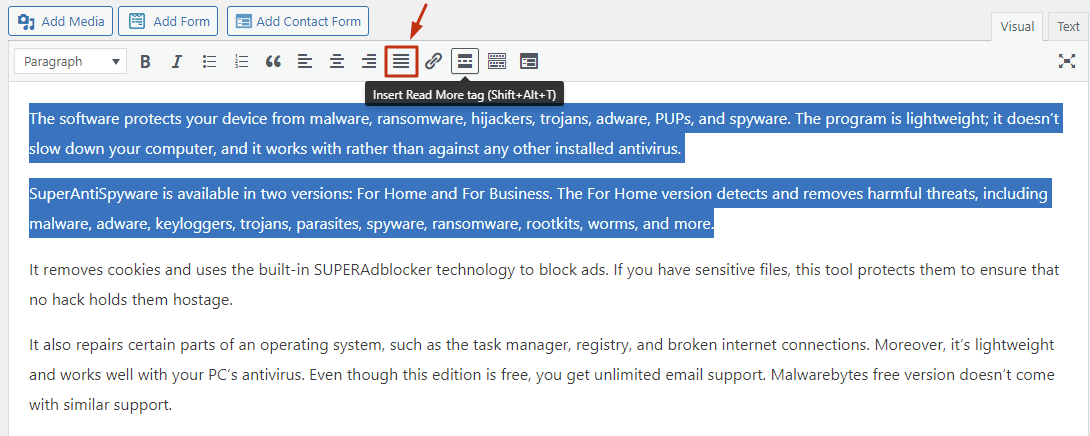
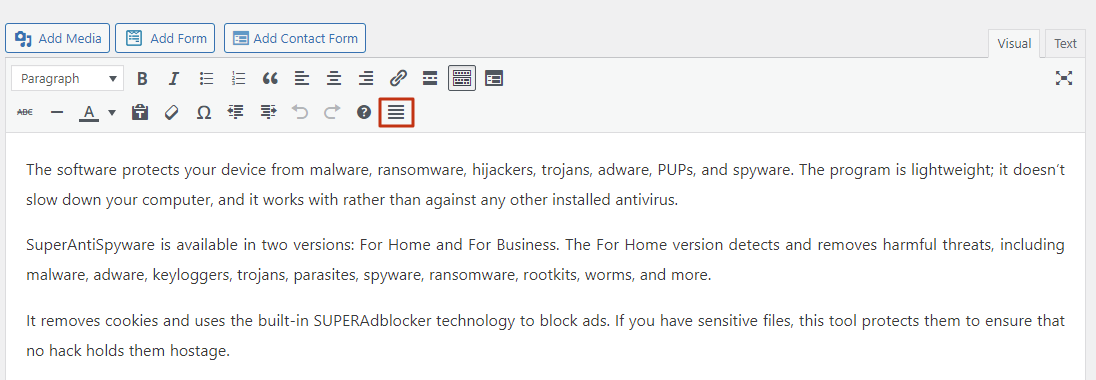
🔹 Step 6: Highlight the text you’d like to justify and then click the justify button.
Easy, wasn’t it?
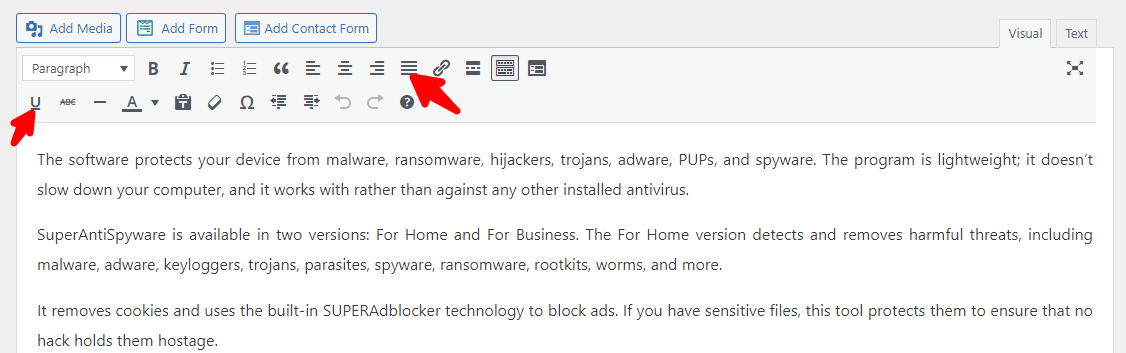
Plugin #2. Who Stole the Text Justify Button?!
This plugin works like the first one above. After installing it, the justify button will appear on the WordPress toolbar.
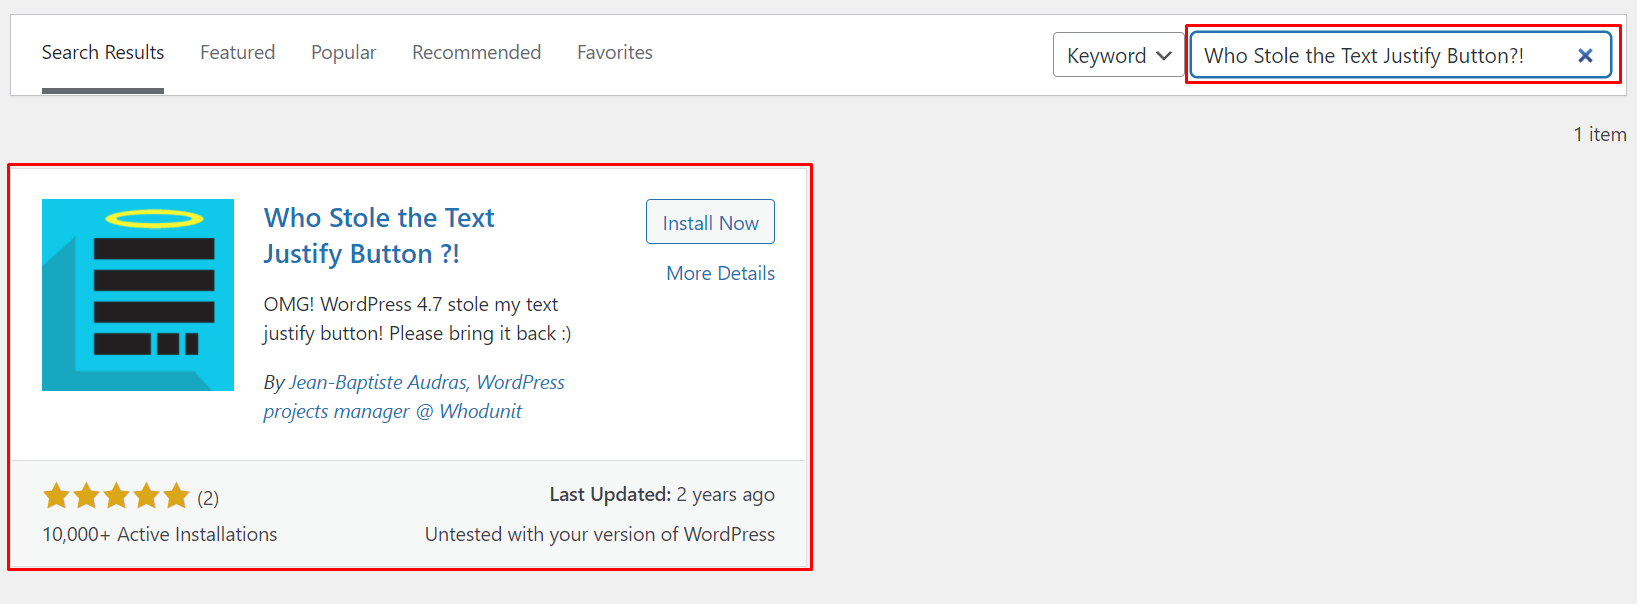
Specifically, it shows up on the toolbar’s second row as shown below:
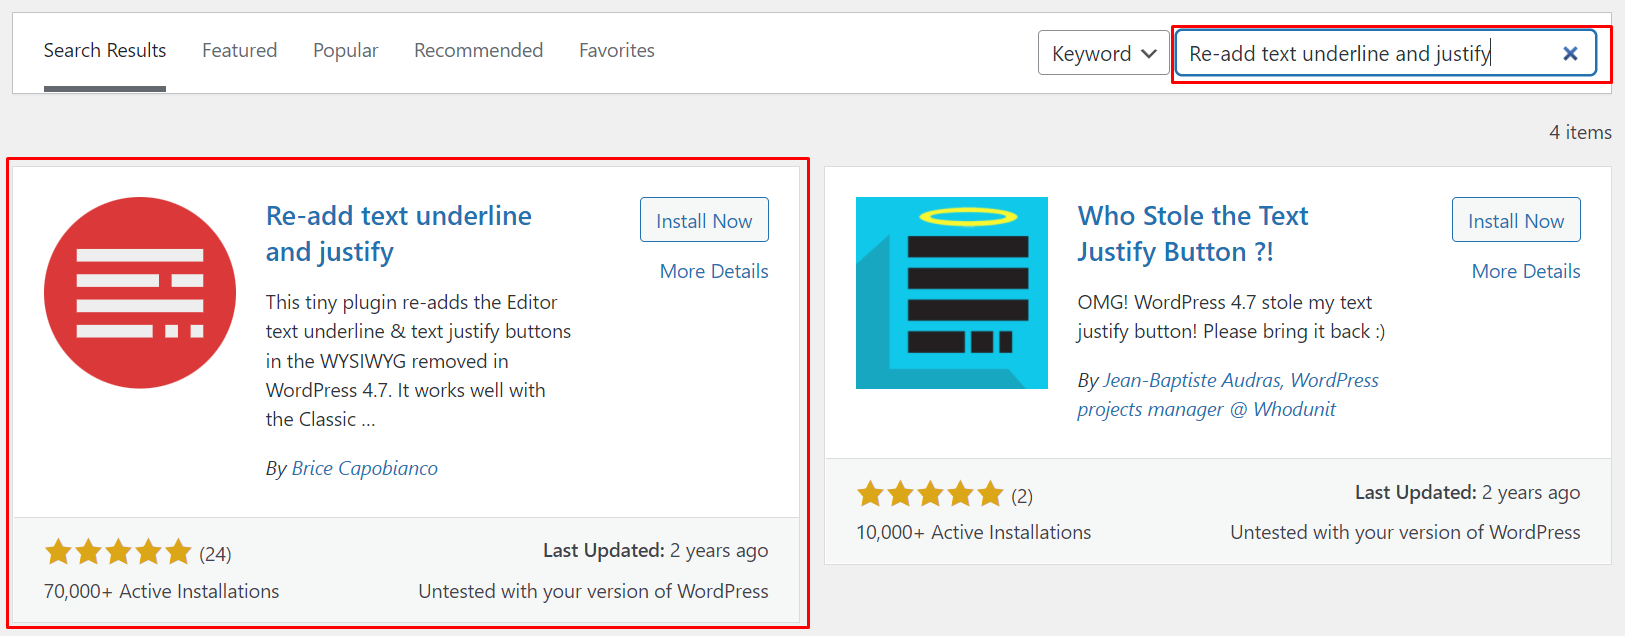
Plugin #3. Re-add Text Underline and Justify
Follow the steps in the first plugin on this list to install and activate this one.
Here’s an extra step:
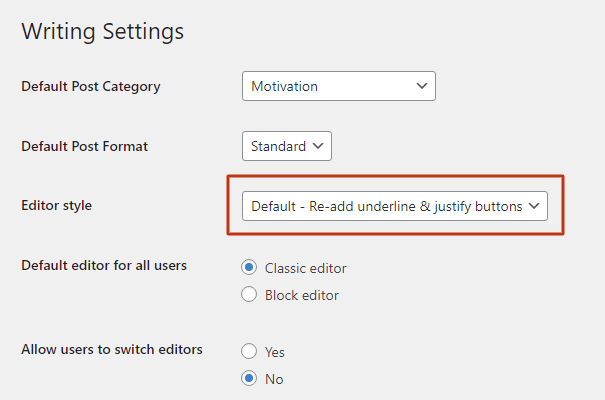
Go to Settings > Writing, and under ‘Editor Style,’ select the option shown below:
The plugin comes with an ‘Underline Text’ feature on the same menu bar as the justify icon. Thus, you can select a portion of text and click the ‘U’ symbol to underline it.
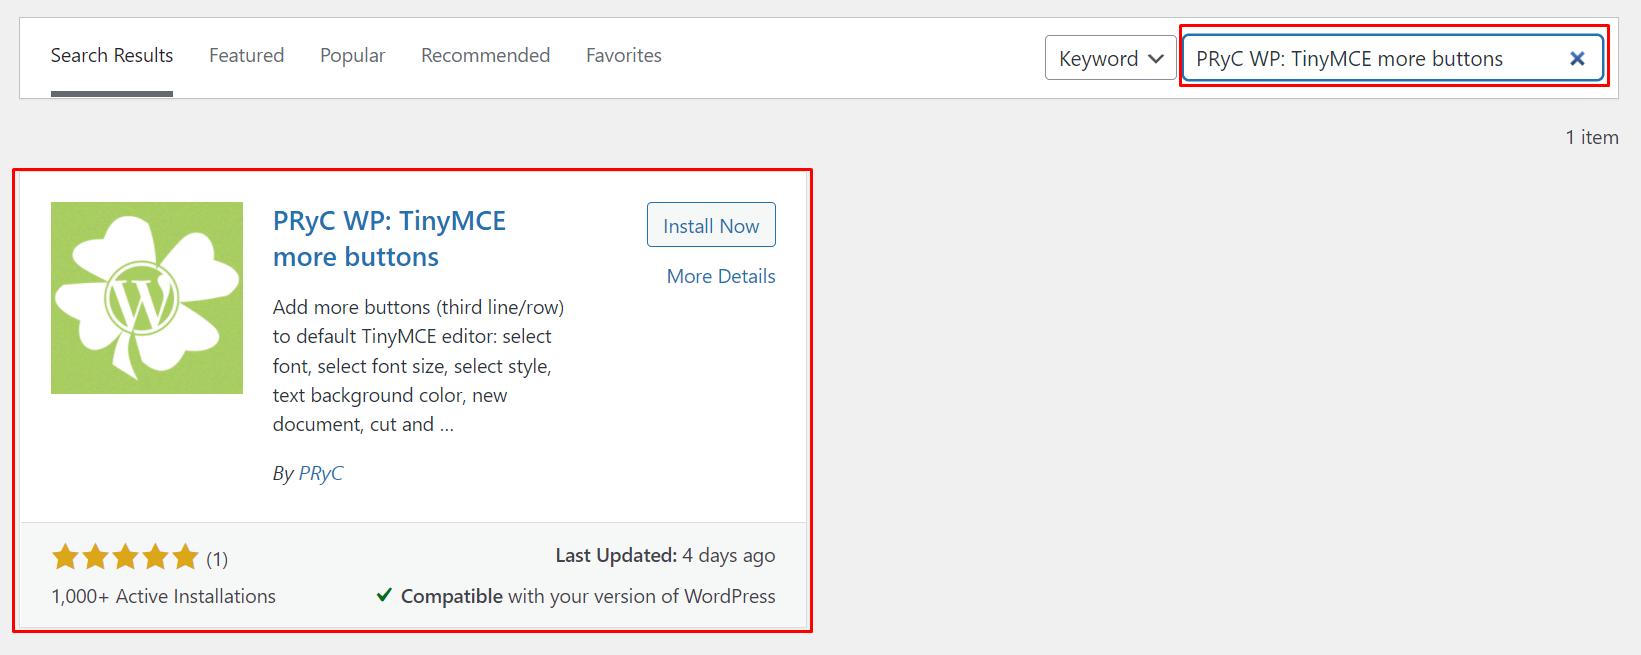
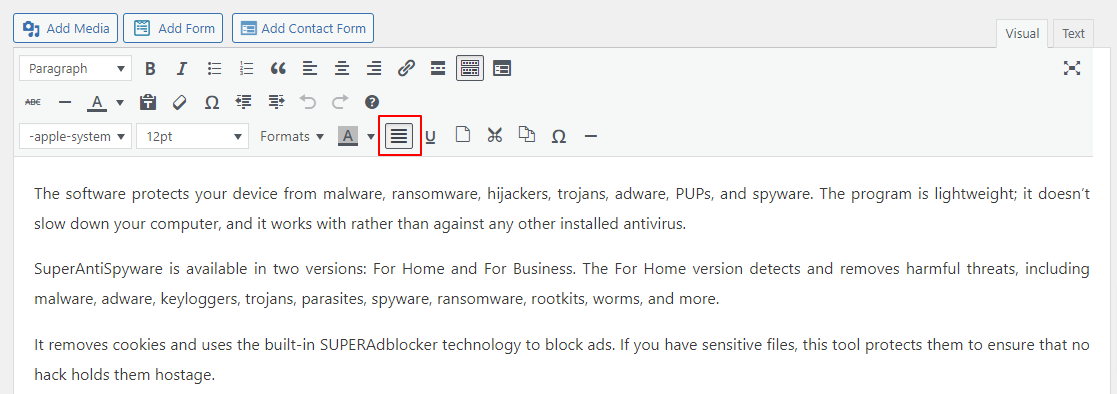
Plugin #4. PRyC WP: TinyMCE More Buttons
As the plugin’s name implies, the tool does more work than adding a justify option to the WordPress editor.
It comes with the underline button plus several buttons, such as:
- Paste
- Strikethrough
- Superscript
- Subscript
- Show blocks
- Anchor
- Horizontal line
- Find and replace
This plugin restores the justify button in the third row of the editor’s toolbar.
How to Justify Text In WordPress Using the Gutenberg Editor
It is time for you to know how to justify text in WordPress using the Gutenberg editor.
🔵 Method 1: Using CSS
⚠️ Disclaimer
Note that this method may or may not work depending on your WordPress theme. If it does not work, we recommend you follow the steps in the method #2.
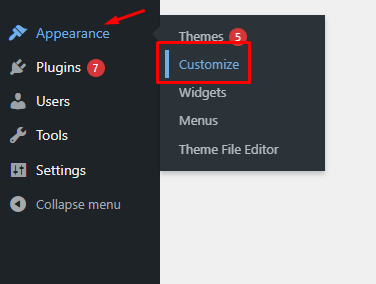
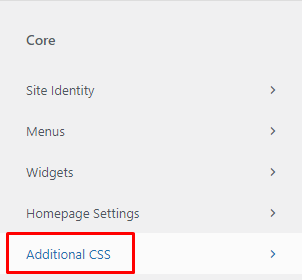
🔹 Step 1: Go to the Dashboard > Appearance > Customize.
🔹 Step 2: You’ll be directed to the theme customization page on the front end. On the left pane of the page, scroll down until you see the Additional CSS section.
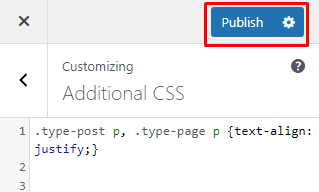
🔹 Step 3: Click on it and in the space that appears, copy and paste this code to make the text on the page justified.
.type-post p, .type-page p {text-align: justify;}🔹 Step 4: Next, click publish.
📝 Note
Please note that this approach justifies content globally – on all of your site’s pages. If you only want to justify the content on a specific page, a plugin should do.
🔵 Method 2: Using a Plugin
The easiest way to justify text in the Gutenberg editor is by using a plugin named Gutenberg Block Editor Toolkit. This plugin lets you justify text in each block.
Here are the steps to follow:
🔹 Step 1: On the dashboard, go to Plugins > Add New and search for Gutenberg Block Editor Toolkit – EditorsKit.

🔹 Step 2: After activating and installing this plugin, go to Posts > All Posts or Pages > All Pages and click on the one you’d like to edit.
⚡ Check also: How to Edit WordPress Home Page
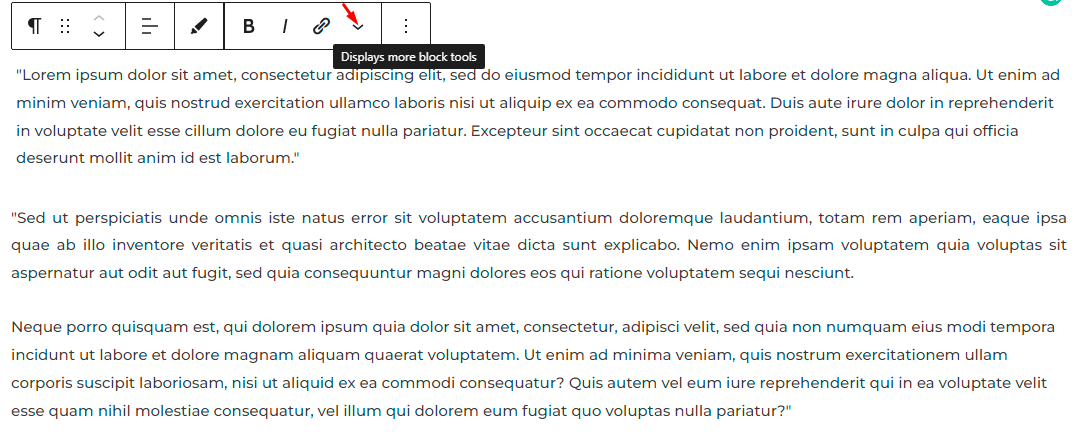
🔹 Step 3: Once the post loads in Gutenberg editor, click on a text block. You’ll see the different options for formatting the text and an arrow facing down with more options.
🔹 Step 4: Click on the arrow to see the drop-down menu with more options.
🔹 Step 5: Click on the justify option.
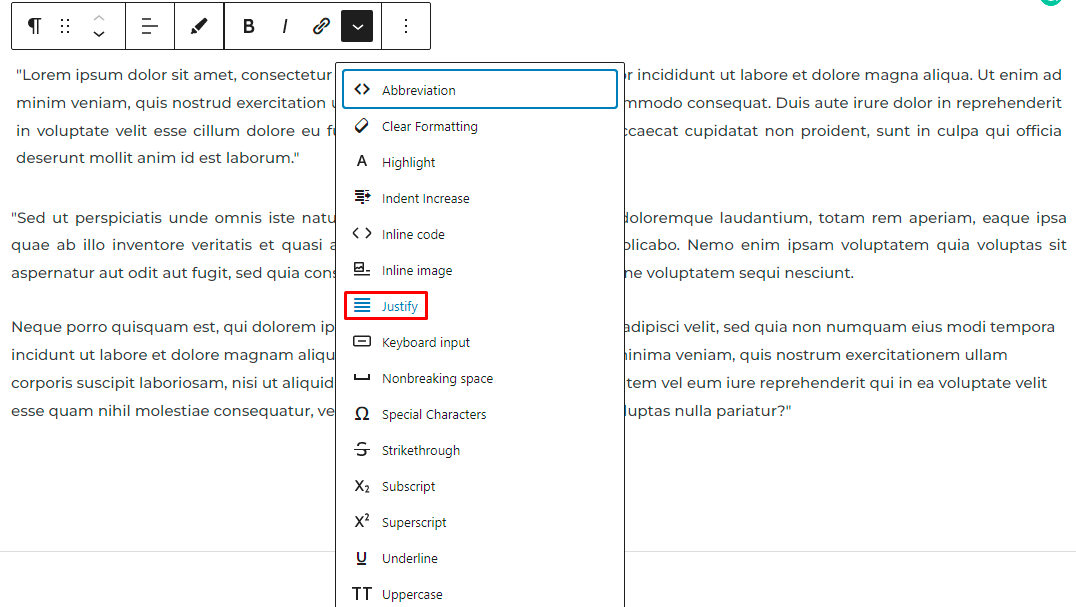
You can click on the rest of the paragraph blocks and follow the same steps to justify the text.
Final Thoughts
Knowing how to justify text in WordPress is an essential skill.
The methods above make the entire process easy, especially for those who don’t like the default WordPress text alignment options.
Hopefully, you can use some of these approaches to give your text a clean and professional look.
🤓 Want to know more about how to build your own website with WordPress?
Here at Siteefy, we’re your one-stop-shop for everything web. Check out our guides to websites, tools, statistics and more on our blog.
🔔 Check also:
- How to Change the Link Color in WordPress
- How to Add Blog Posts to Pages in WordPress
- WordPress: How to Remove “Leave a Reply”
- How to Edit WordPress Site?
- How to Make a Webcomic Site
- How to Edit Footer in WordPress
- How to Edit WordPress Home Page
- Why Is WordPress So Hard To Use?
- WordPress Visual Editor Not Working
It is an amazing post and you explained it in a detailed way. Nice to see this here.
I will bookmark your blog for more details. Keep sharing new things like this.
I think the custom CSS method is best instead of manually justifying each paragraph’s text.
heyy, justify option doesn’t show but all the other options are there…